Arcade Table
Objective:
After seeing a sit-down arcade table at an arcade, I wanted to challenge myself to design and build my own as a personal engineering project.
Solution:
Create a fully functioning arcade system that supports two-player gameplay for a variety of retro games.
Tools/Skills Used:
Autodesk Inventor, 3D Printing (PETG & TPU), Woodworking, Manual Mill, Raspberry Pi, Microelectronics & Wiring
Approach:
Designed the table structure and components in Inventor, fabricated the frame and control panel in the workshop, 3D printed custom parts as needed, and programmed a Raspberry Pi to run the arcade software and input controls.
My Role:
Taught myself microelectronics and interface wiring while applying my existing machining and fabrication experience to woodworking and enclosure design.
Results/Impact:
The finished arcade table functions flawlessly and has become a meaningful reminder of my growth as an engineer, combining mechanical fabrication, electronic design, and software integration into one hands-on project.

I began by designing the entire table and control layout in Autodesk Inventor. This allowed me to determine proper button spacing, screen positioning, table height, and internal electronics routing. The digital model acted as a blueprint that translated directly into fabrication dimensions. Careful planning ensured that the final build would be structurally sound, ergonomic, and easy to service internally.
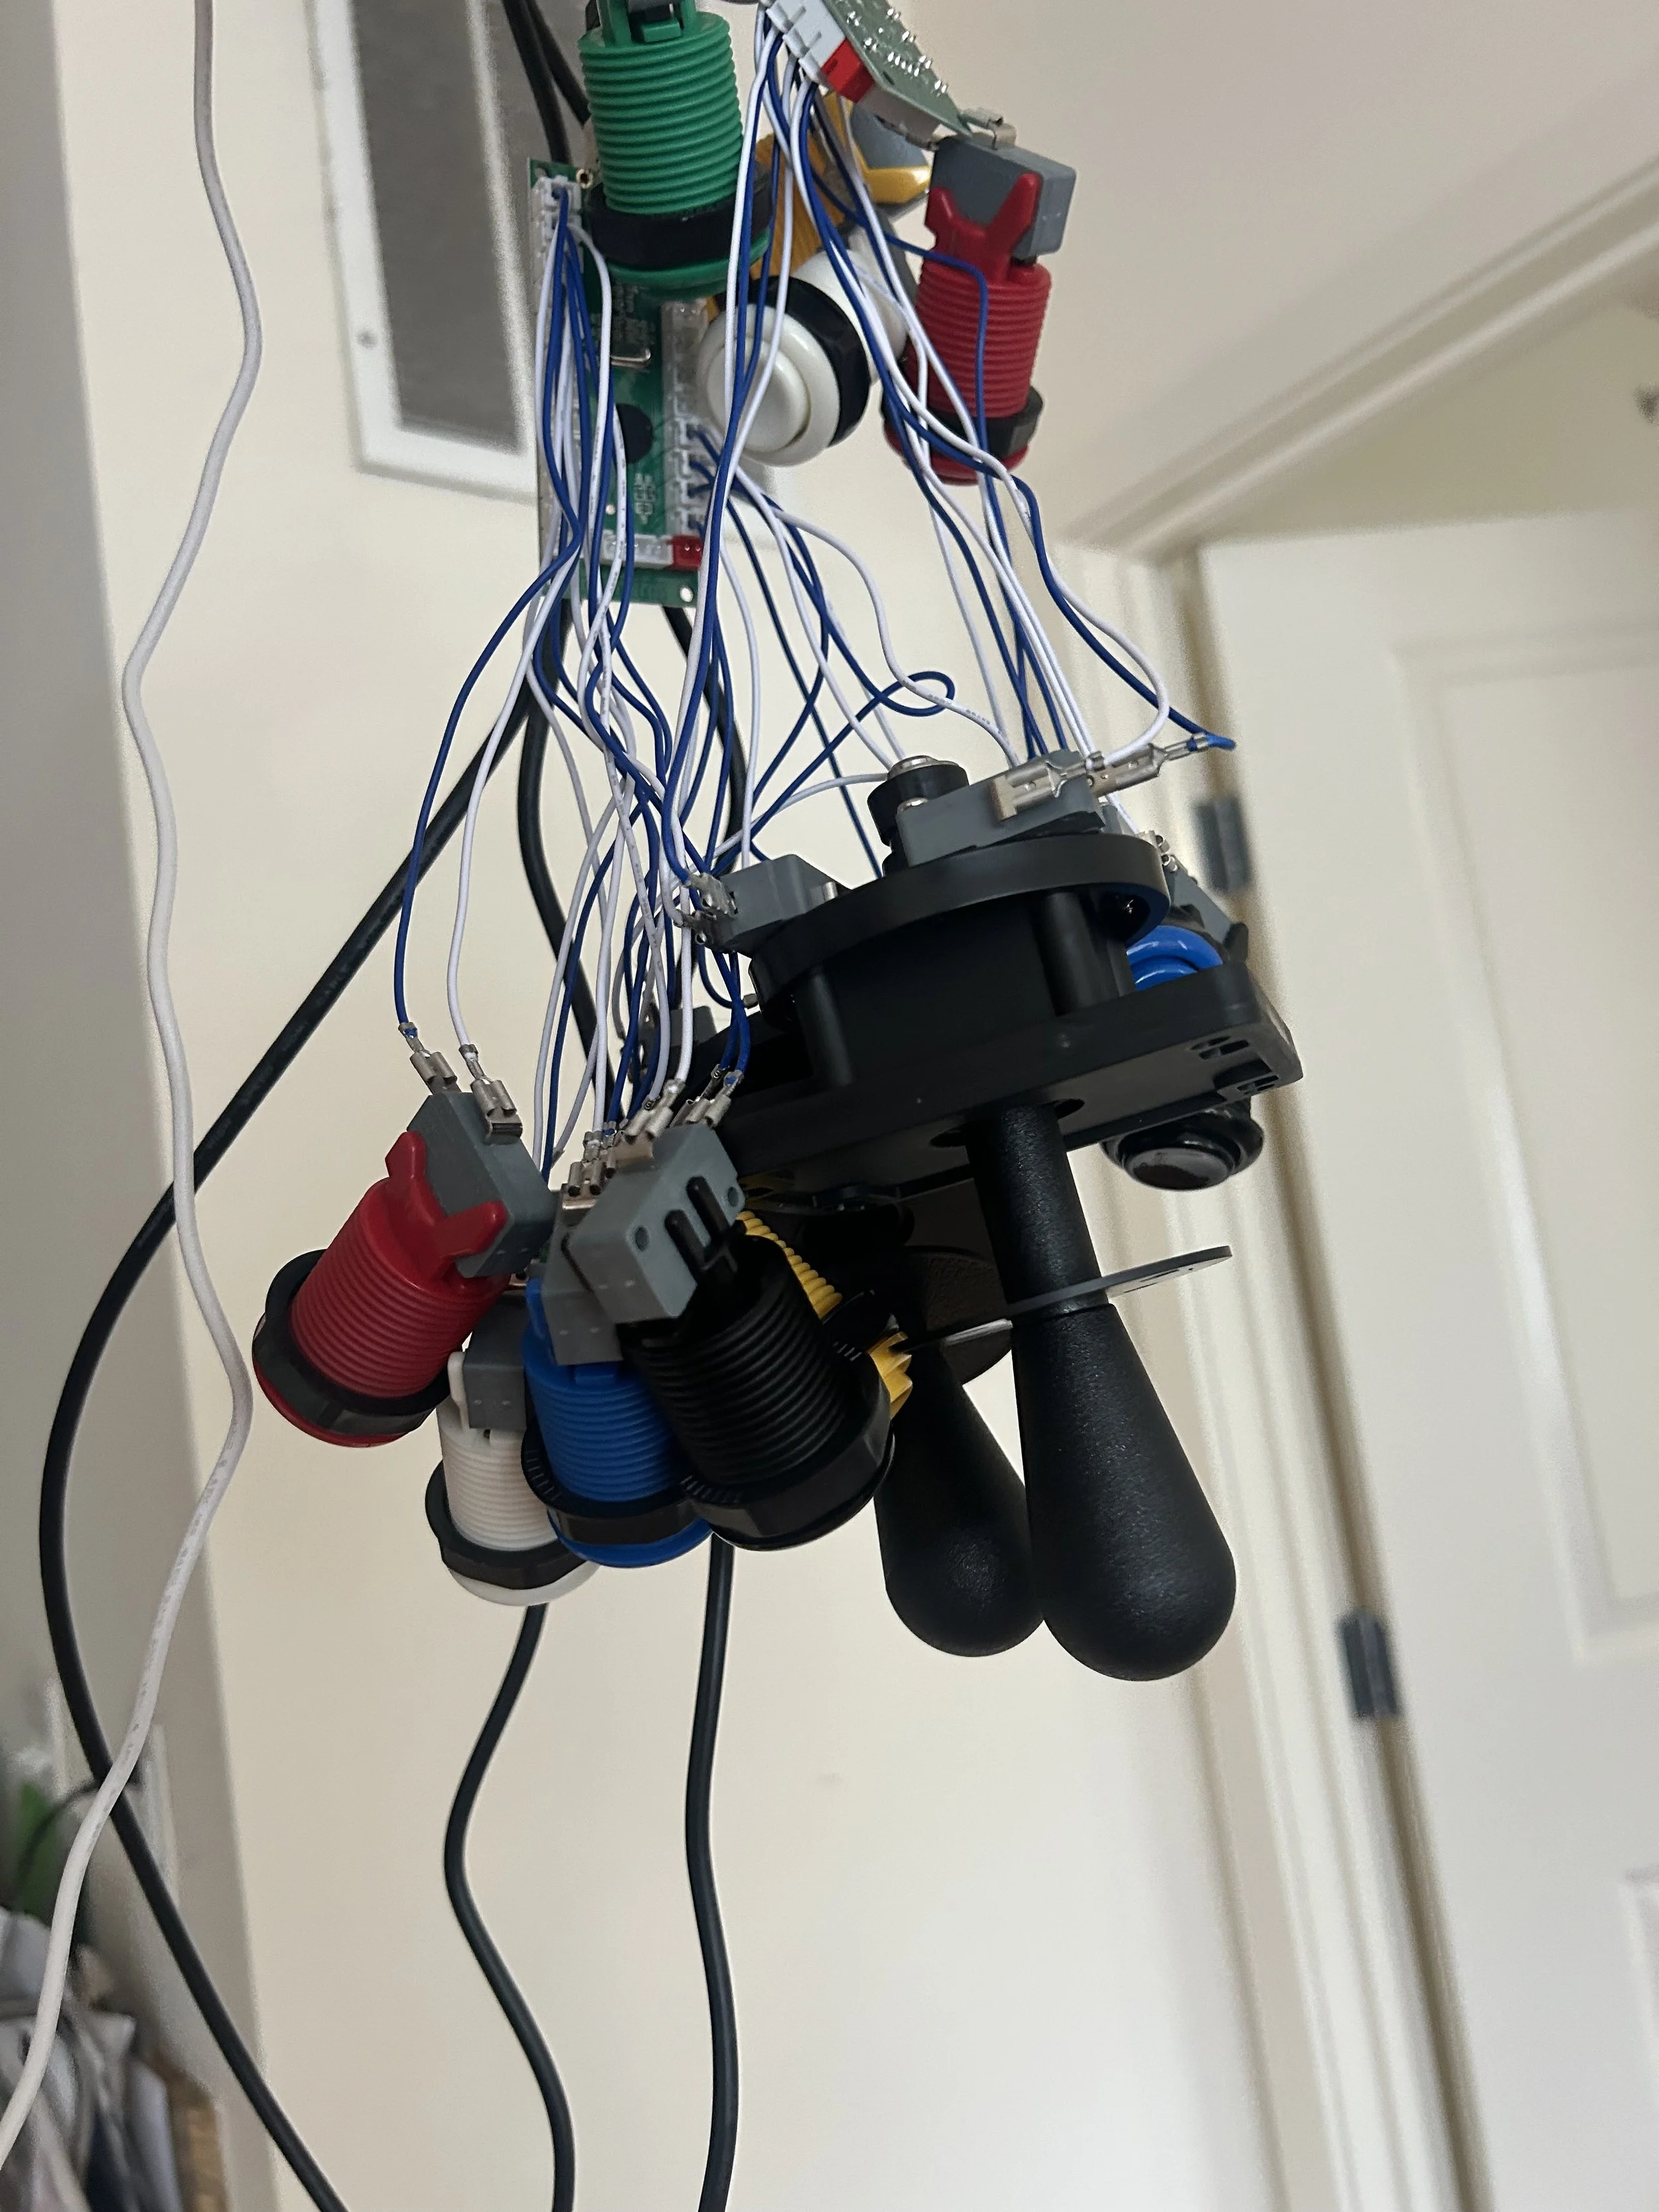
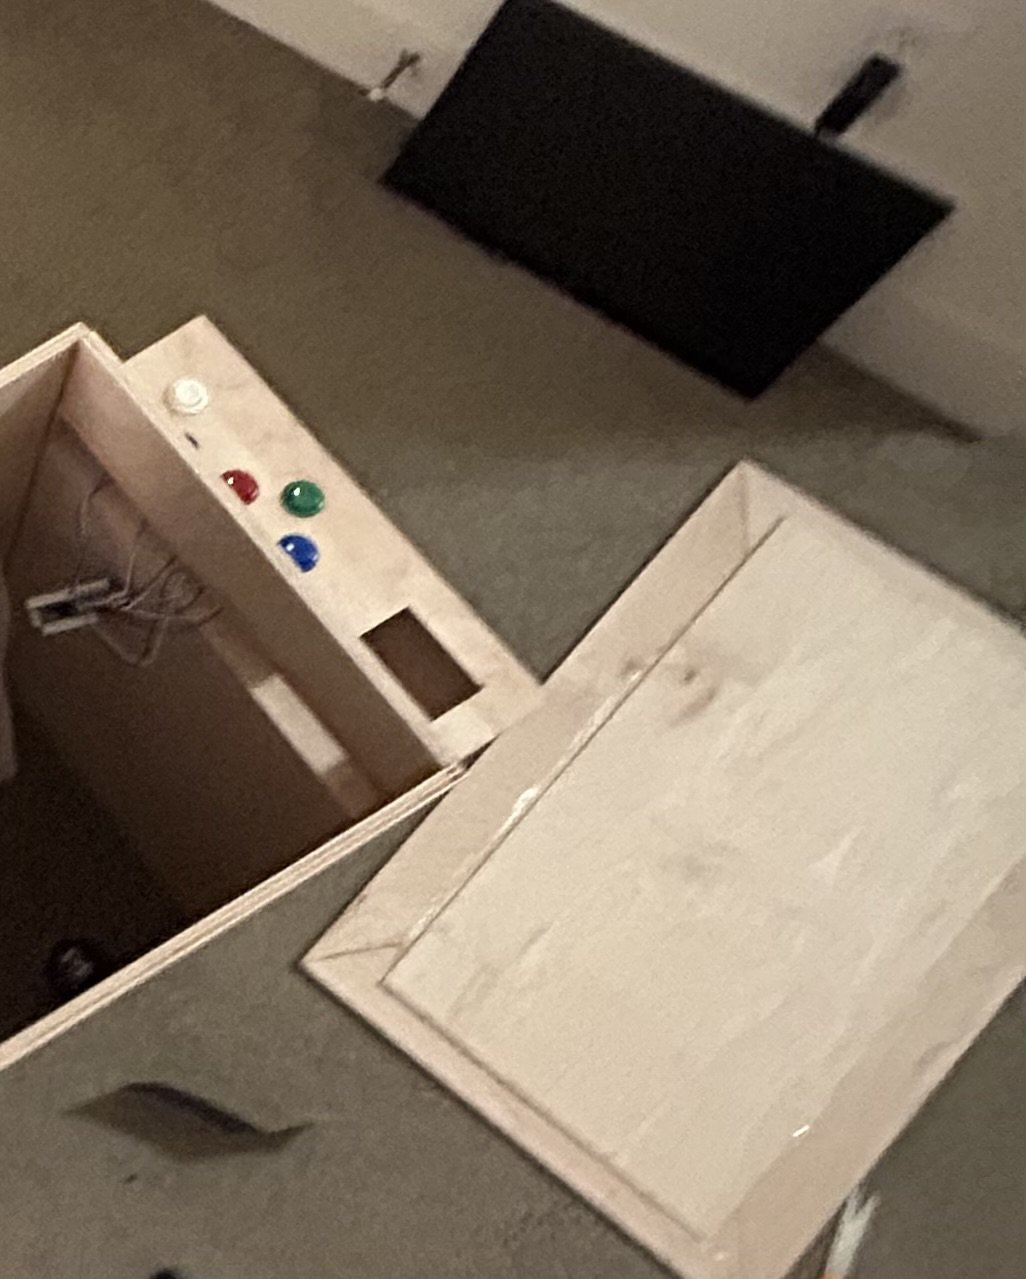
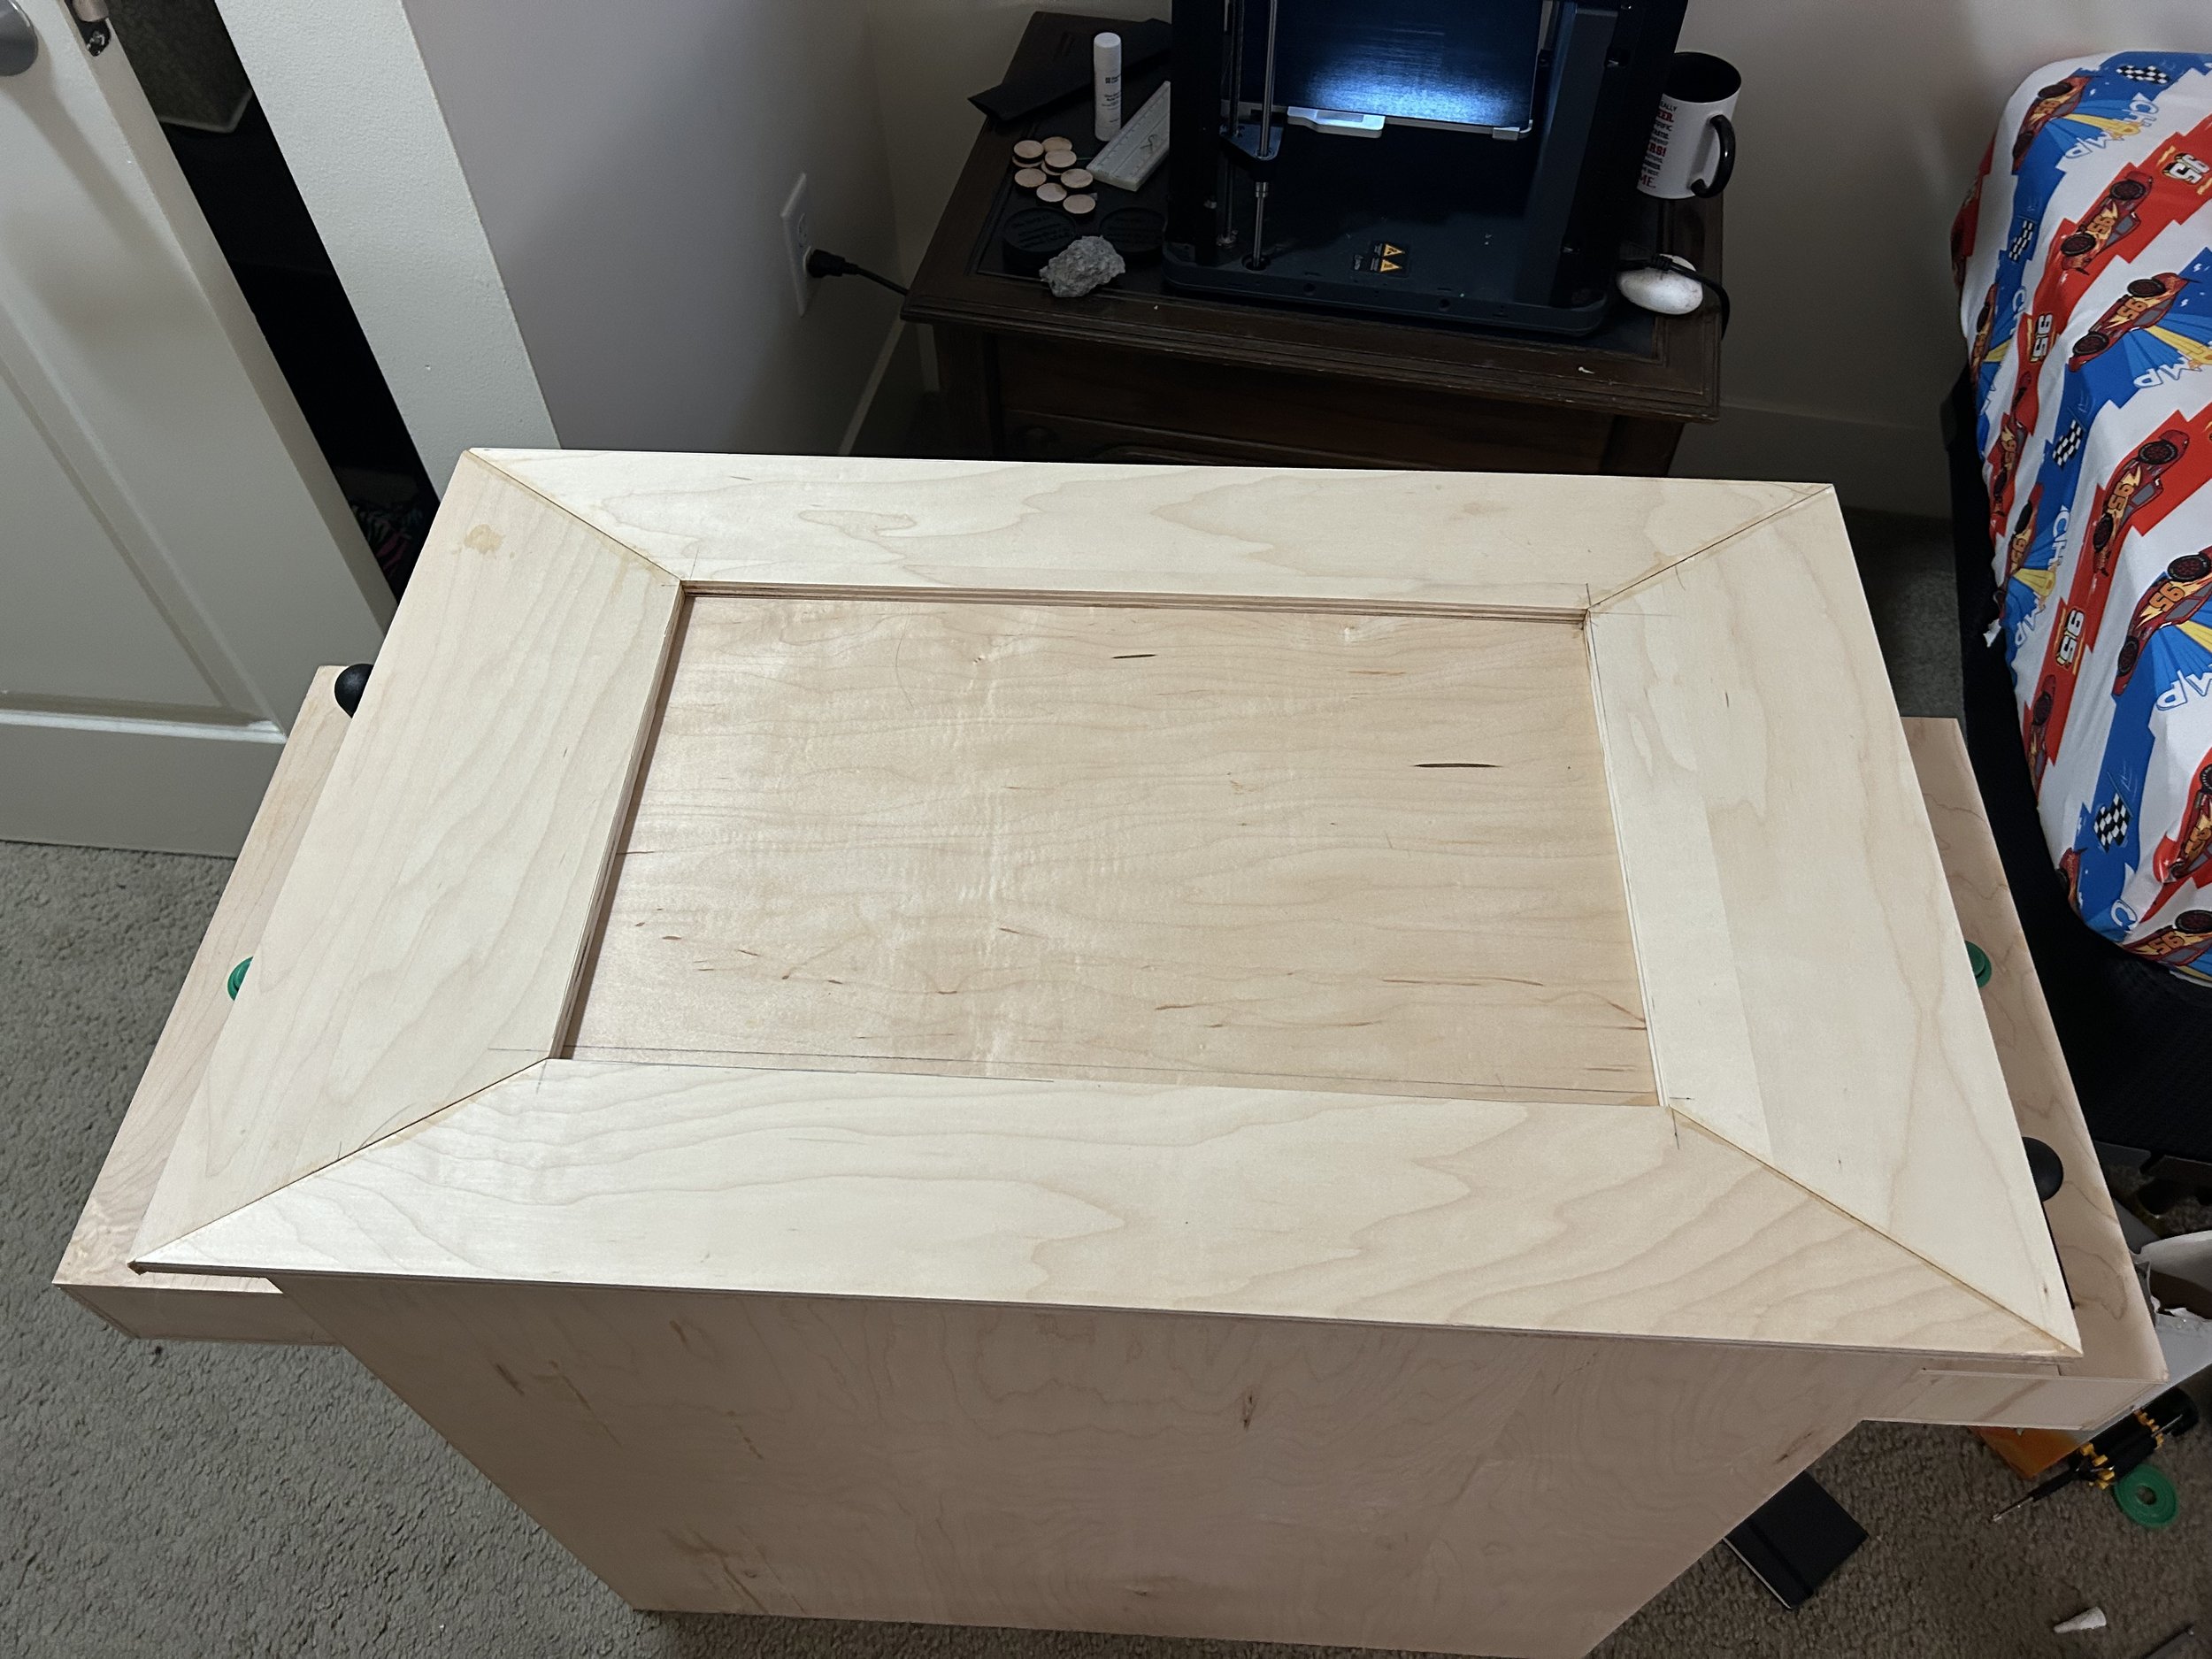
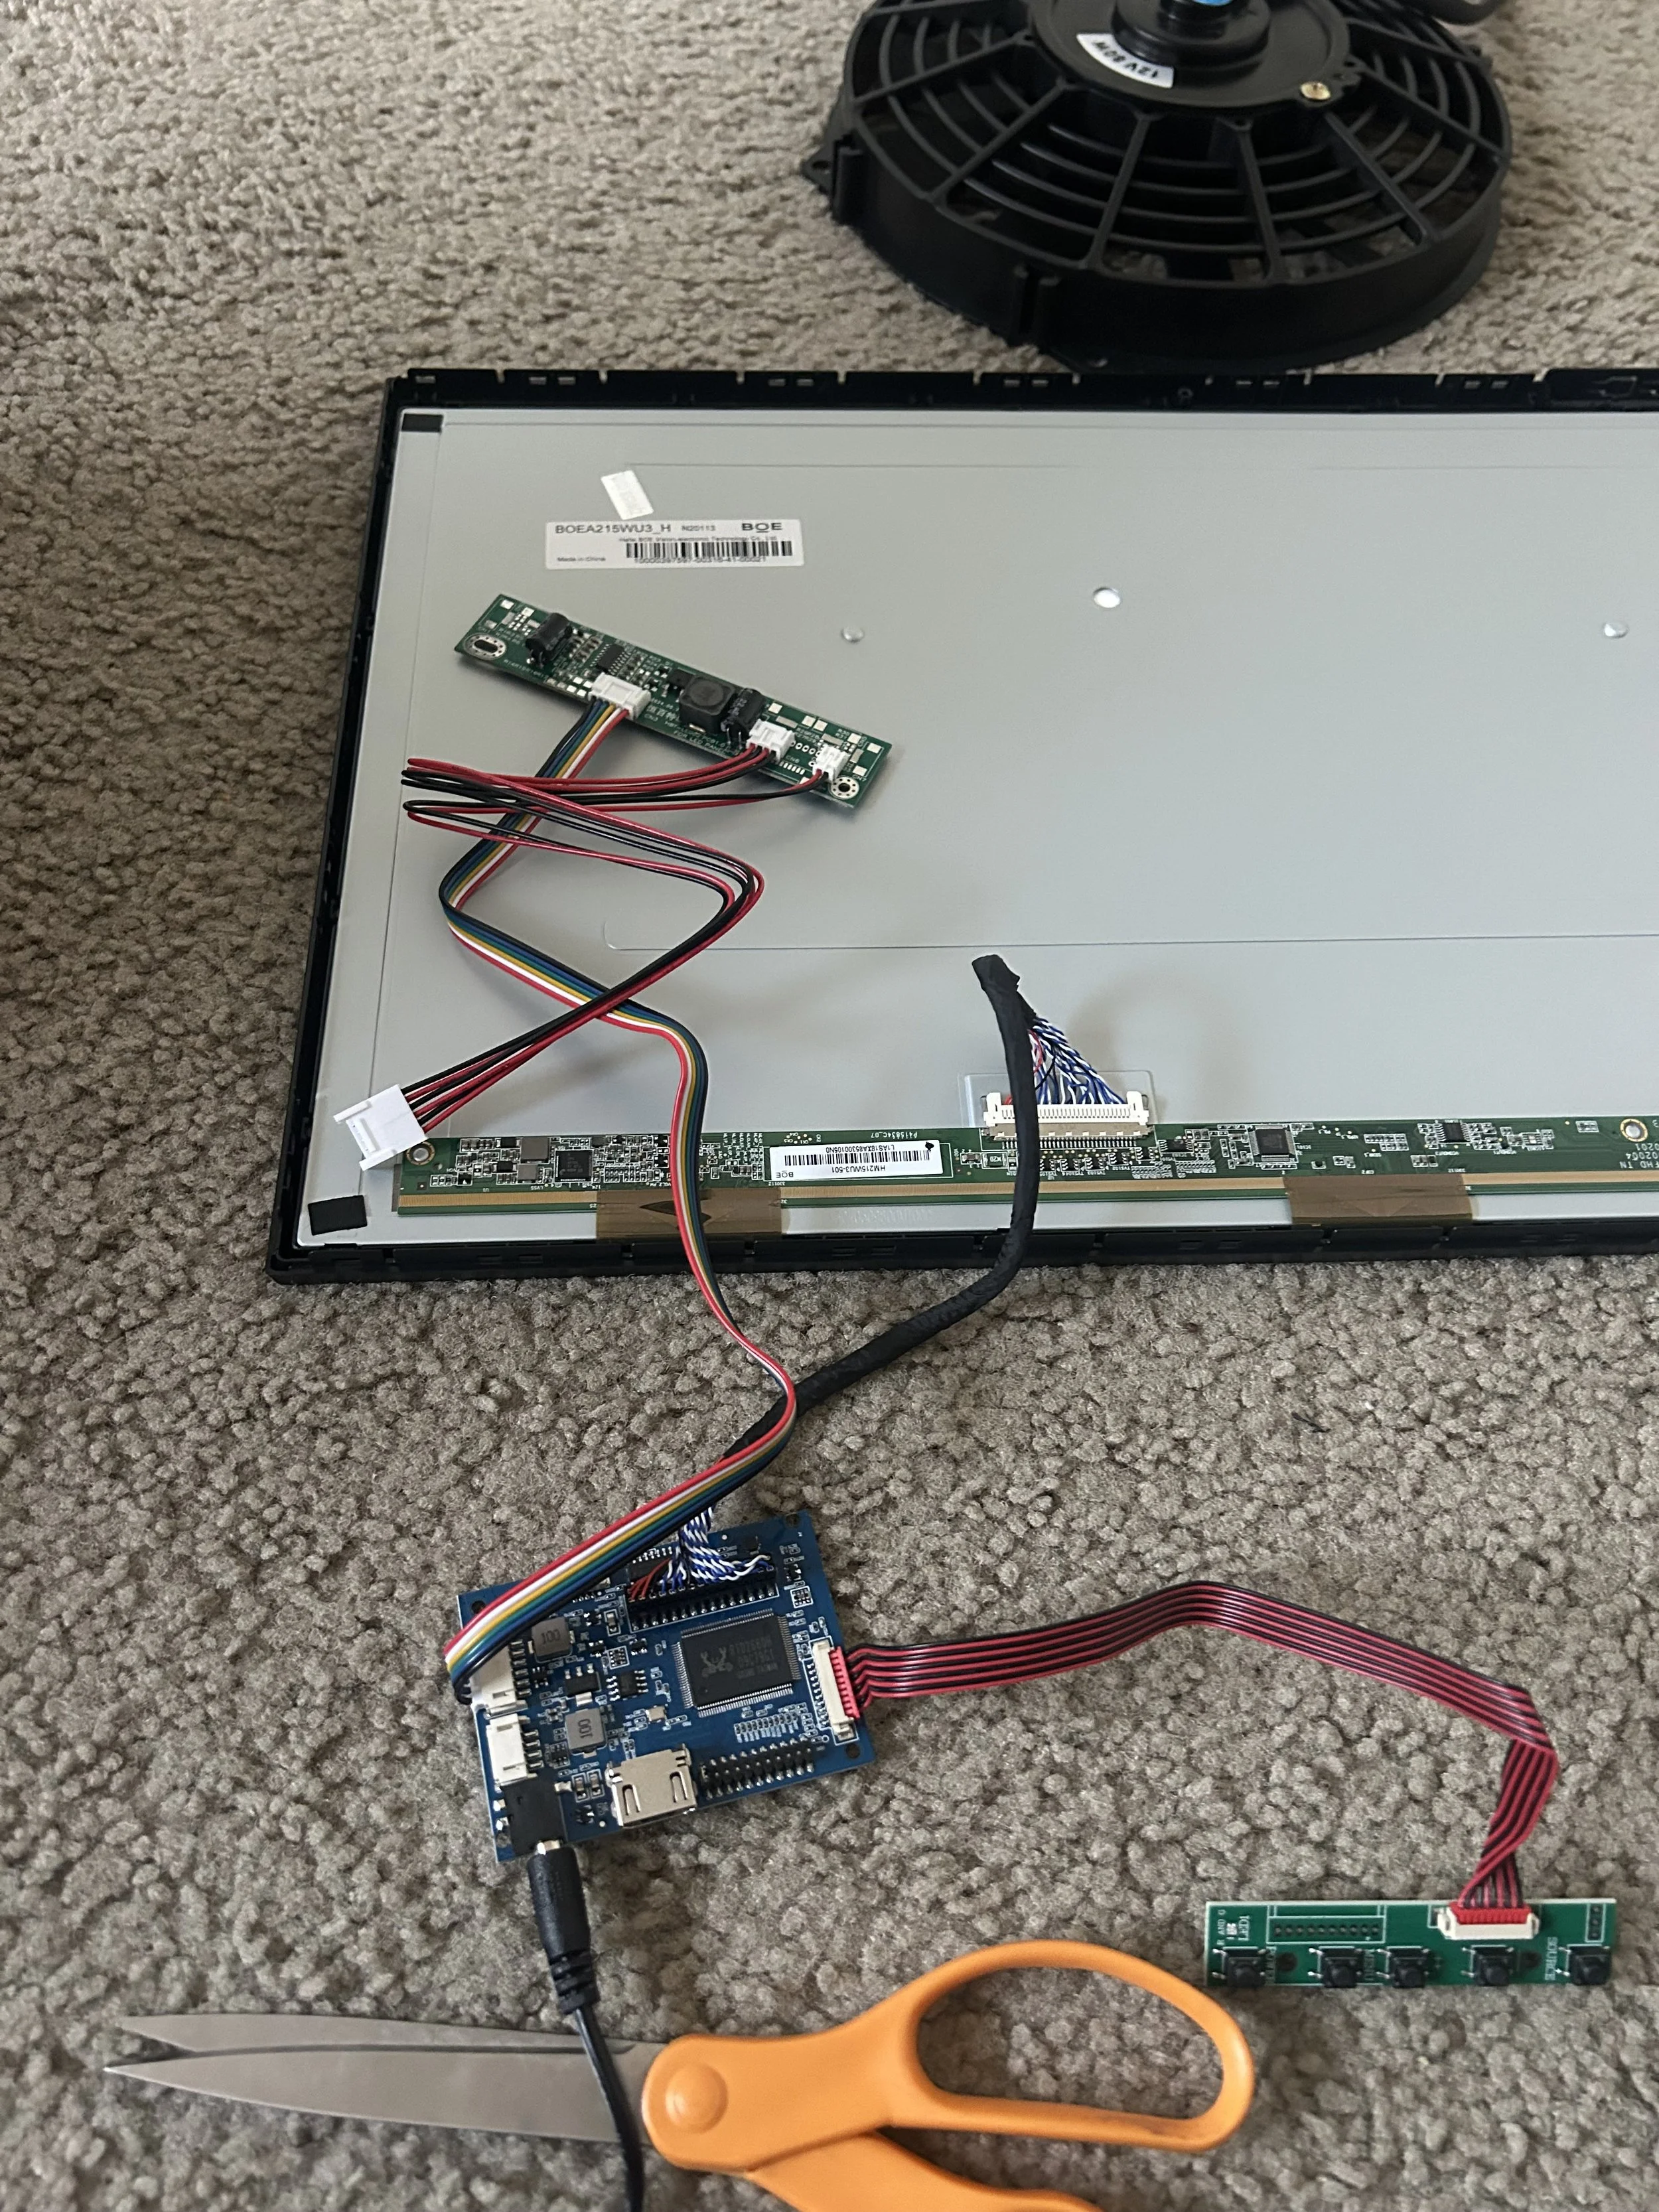
Once the design was finalized, I built the table frame and control panel using woodworking tools and hardware I sourced for the project. I machined fittings and brackets using the manual mill where needed and 3D printed PETG and TPU parts for custom mounting features and cable pass-throughs. Every mechanical component was made to fit the dimensions established in the CAD model. This ensured a precise, clean final assembly.
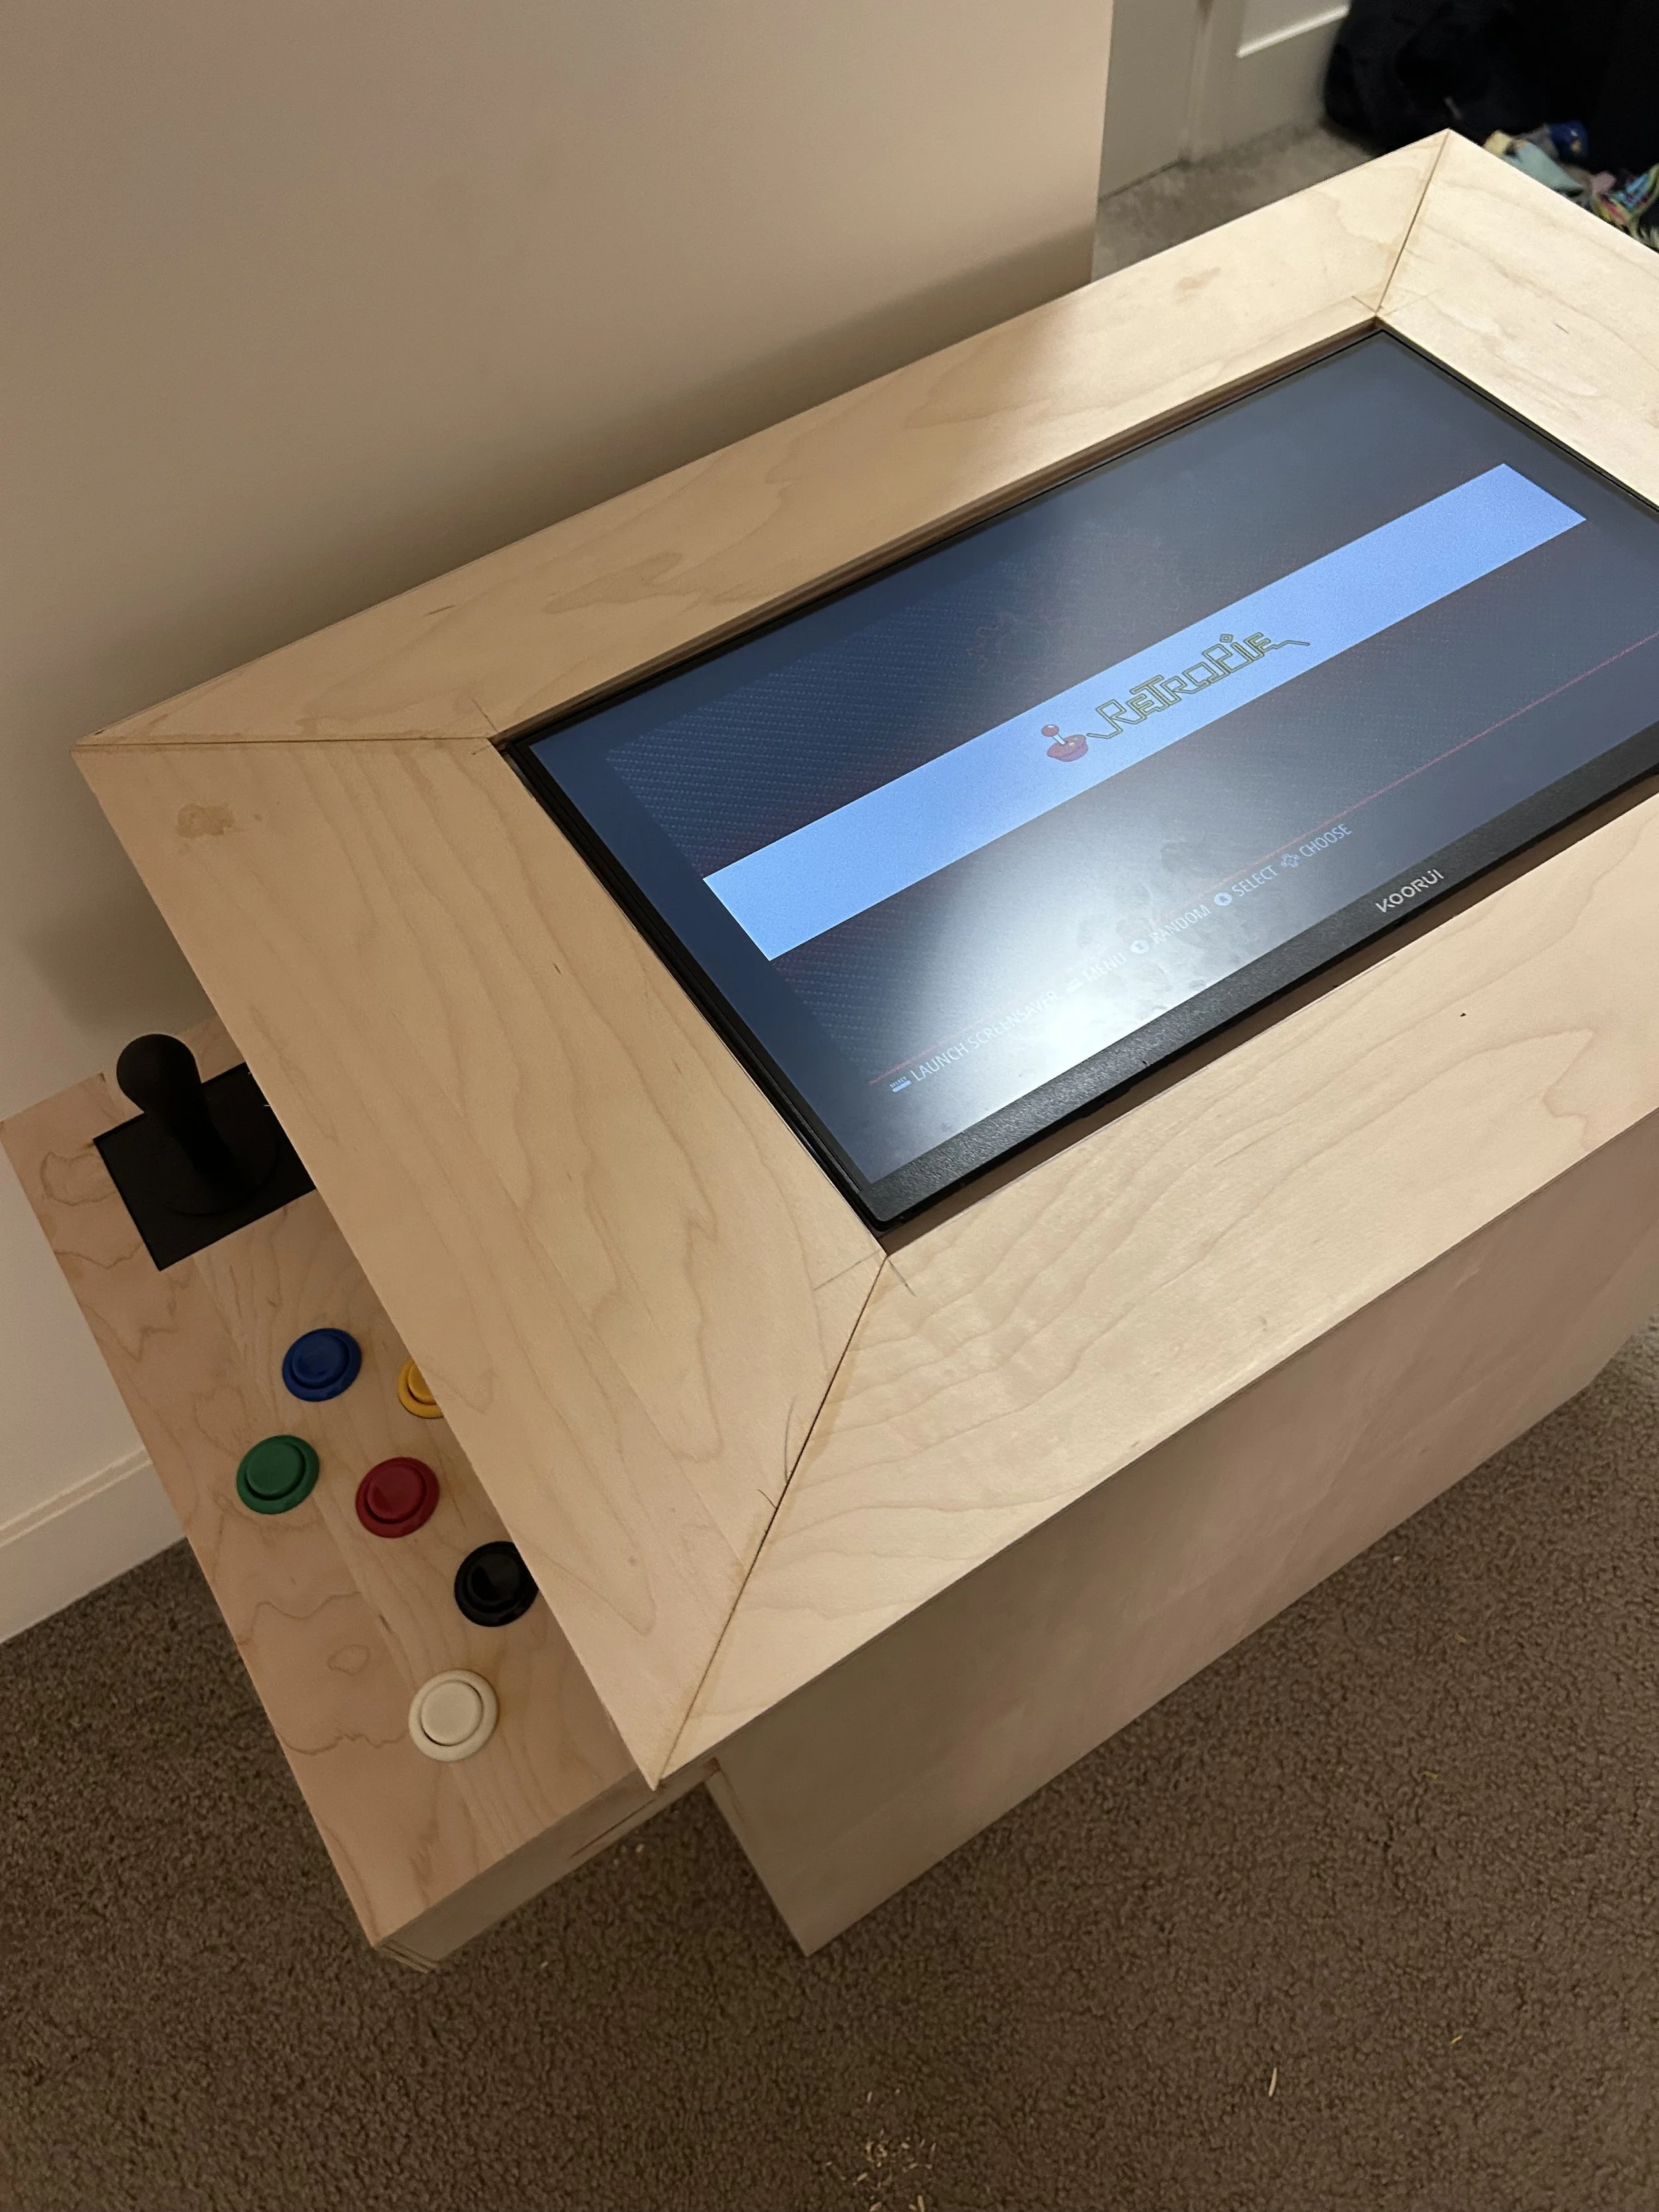
To power the system, I used a Raspberry Pi configured with retro gaming software. I wired the arcade buttons, joysticks, power supply, and display interface, teaching myself microcontroller I/O and signal routing along the way. The software and hardware needed to communicate seamlessly for smooth gameplay. This phase of the project tied together coding, wiring, and hardware integration.
I completed the entire project myself, relying on self-teaching, iterative testing, and hands-on problem solving. This required adapting my machining experience to woodworking, learning microelectronics from scratch, and troubleshooting both physical and digital challenges. Working independently forced me to deeply understand each step of the build. The project became just as much about capability-building as the final product.
While visiting an arcade, I noticed a sit-down arcade cocktail table and thought it would be a great challenge to engineer one myself. Unlike a typical electronics project, this would require design, fabrication, controls, and software integration combined into one build. I wanted the end result to feel professional, functional, and fun to use. This became a personal engineering project focused on both learning and creating something meaningful.
The goal was to build a fully functioning two-player arcade system capable of running multiple retro games reliably. The system needed to be comfortable to sit at, intuitive to use, visually clean, and sturdy enough for repeated gameplay. This made the project a test of both technical and practical hands-on engineering skills.
The finished arcade table works flawlessly and has become a functional piece that I still use and share with others. Beyond being fun to play, it serves as a tangible reminder of how far I’ve grown in engineering — from CAD, fabrication, and machining to electronics and software integration. It represents the kind of engineer I like to be: someone who builds things that work, learns by doing, and isn’t afraid to take on projects outside their comfort zone. It stands as one of my most meaningful personal builds.